
1. Before you begin

Check Your Kit
Make sure you have all the necessary components to install your Tempo tent. Refer to the list below:
- Tent frame
- Transport bag
- Anchoring system
- Cover canopy provided with the tent

Prepare for Installation
Estimated time: Installation takes approximately 10 minutes.
People required: We recommend at least two people for an easier and safer setup.
Tools: No tools are required, but a hammer may be useful for securing anchors into the ground, especially on hard surfaces.
Choosing a Setup Location
Select a flat and open area for installation. Make sure the location is suitable for the tent and anchoring system. Avoid slippery surfaces and areas exposed to strong winds.
2. Let us guide you

Step 1
Grab the lower “V” structure at the center, where indicated, on opposite sides. Lift and slowly pull the frame halfway open.
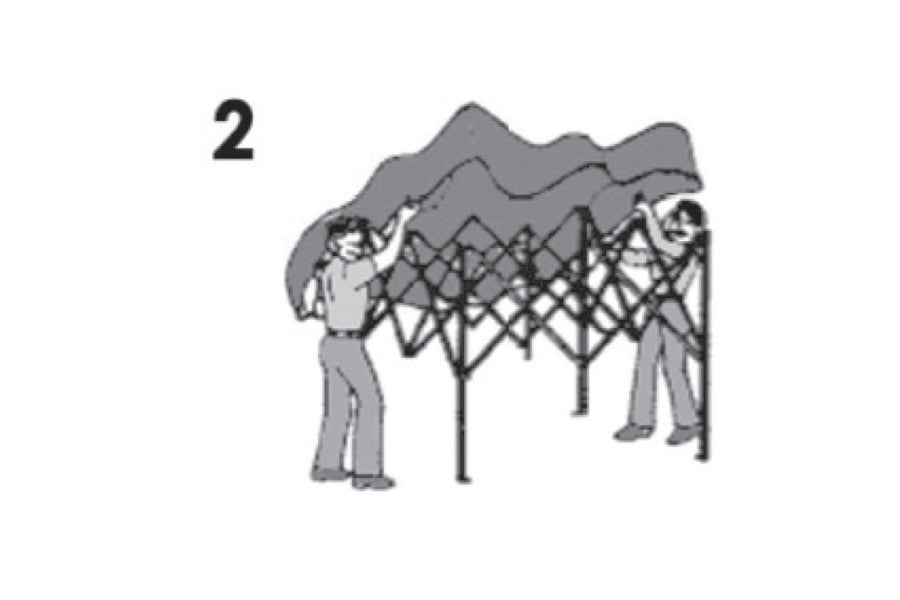
Step 2
Place the canopy cover over the partially opened frame, aligning the corners of the fabric with the corners of the structure.
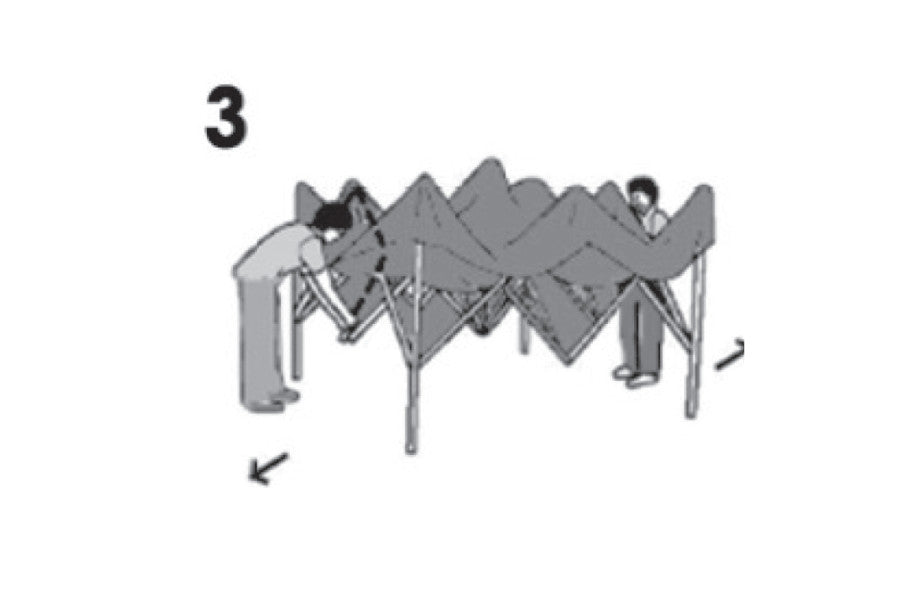
Step 3
Continue lifting the structure with the canopy on top, stepping back until the Tempo tent is fully deployed.
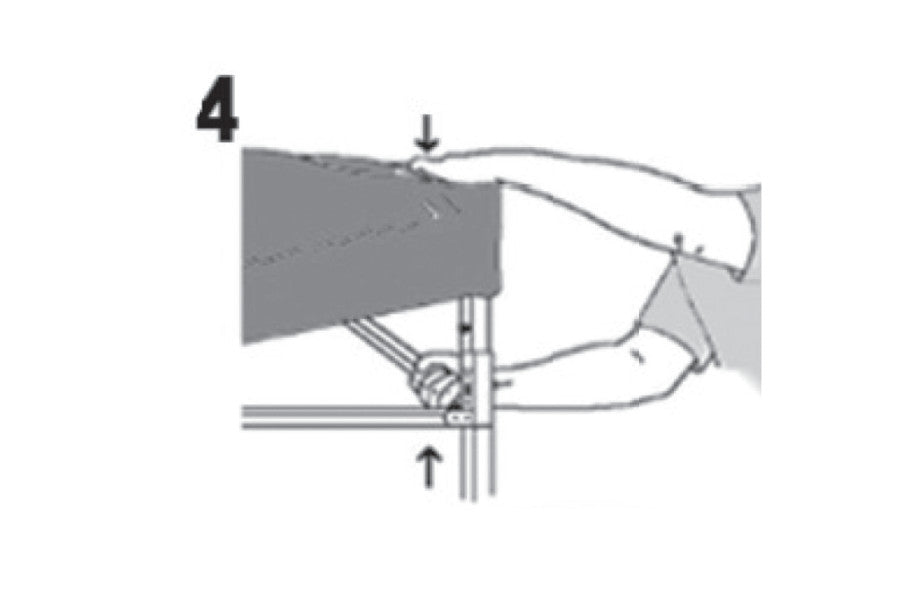
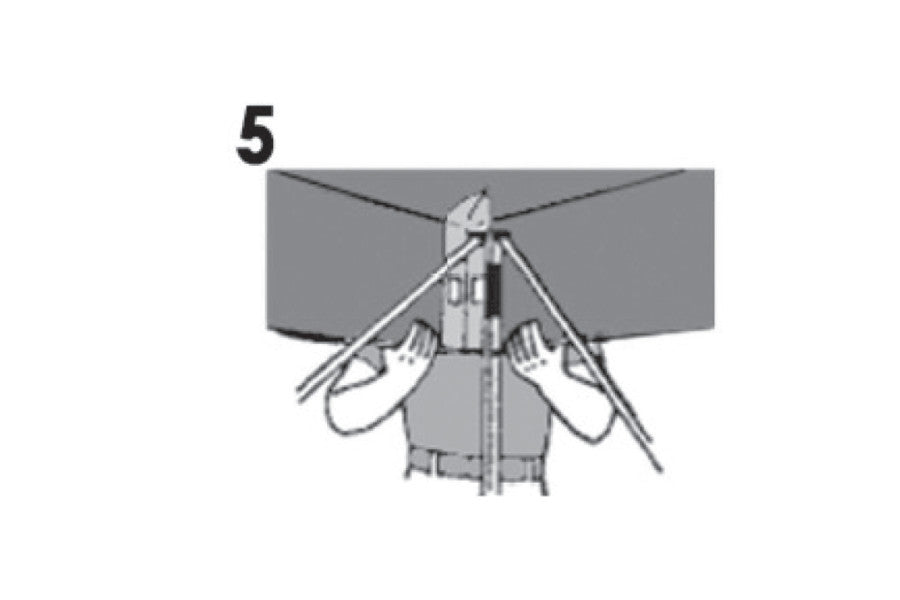
Step 4
Lift each corner connector into the locking hole until you hear a “click”—this secures the top portion and locks the structure in place.
Step 5
Fasten the Velcro straps at each corner (inside the tent).
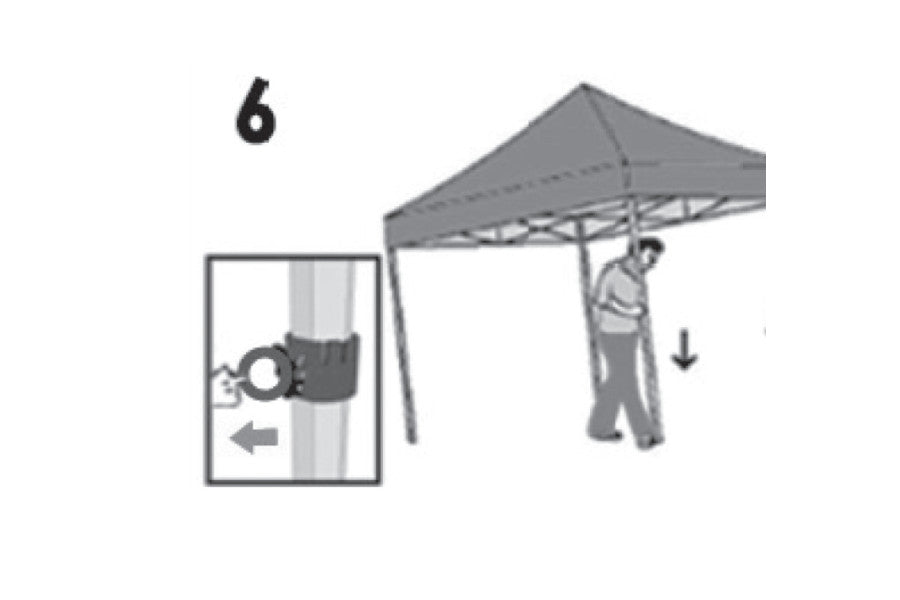
Step 6
Release the safety ring on each leg and adjust to your desired height. Always adjust both legs on one side first, then repeat on the opposite side. Each leg has multiple height settings—choose the one that suits your needs best.
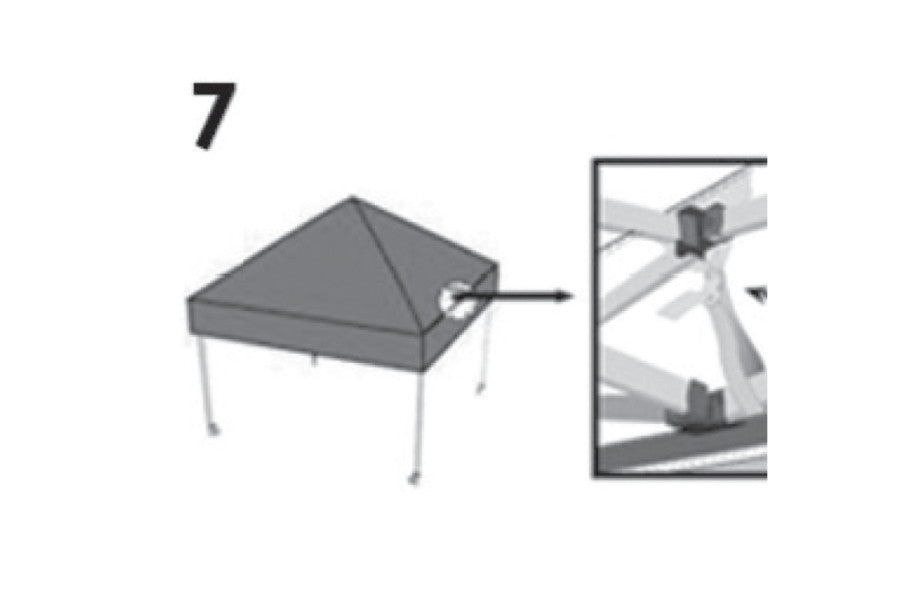
Step 7
Clip and secure the straps inside the tent, in the middle of each valance, to keep the canopy tight and stable on the frame.
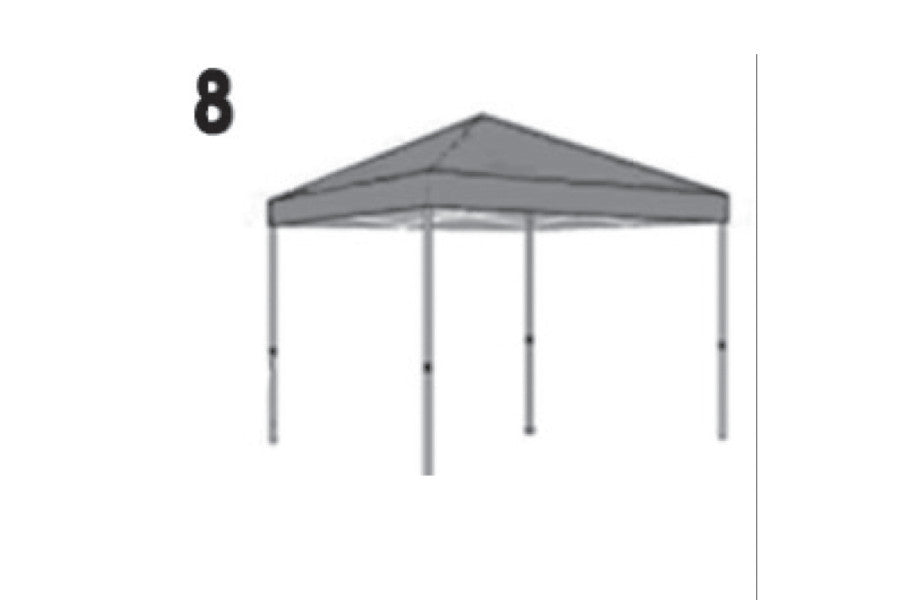
Step 8
Congratulations! Your Tempo tent is now fully assembled. Make sure everything is secured and don’t forget to anchor the tent to the ground. You can now enjoy your Tempo tent!

